The Rug Making Process: Part 4 – Finishing
Posted on April 27th, 2019 by Joshua Kebabian
We’re finally at the end of our journey! We are now going to look at the final work involved in producing a hand knotted rug. To see my previous blog posts on the rug making process, you can use the links below:
The finishing process for hand knotted carpets is very involved. There are at least ten processes that need to take place before the rug is done and ready for use; a few of these processes need to be repeated multiple times to ensure the rug has the best look and quality.
Shearing, Washing and Drying
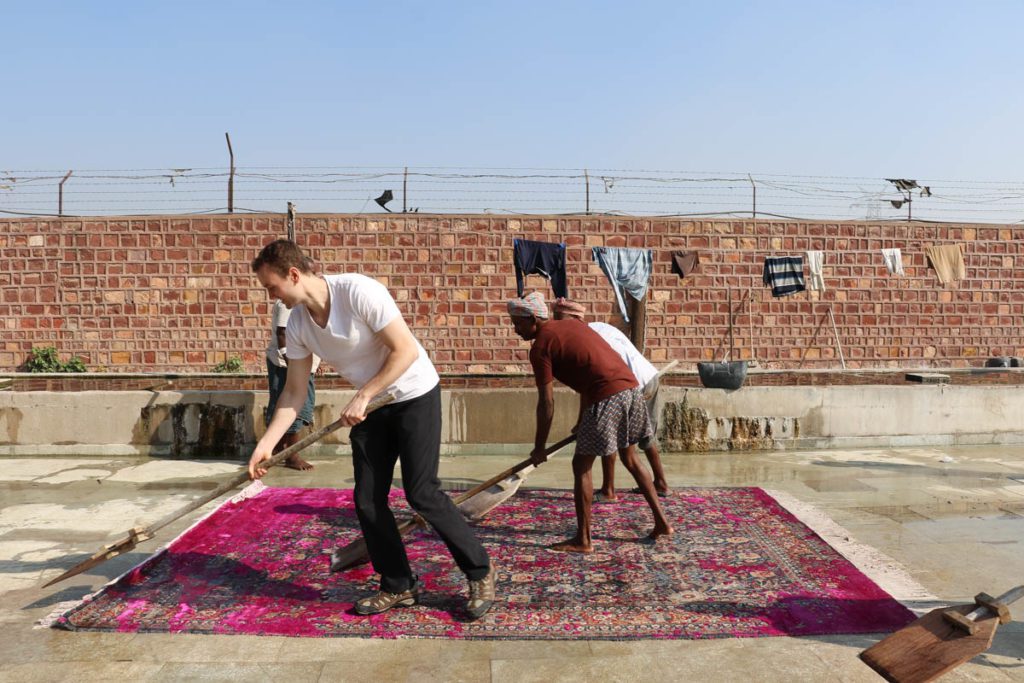
Video below: “When a hand knotted rug comes off loom, this is what you’re going to look at.” We’re literally looking at the first step in the rug finishing process; the first shearing!
Shearing
When the rugs get off the weavers’ loom, they don’t look much like the final product. Long strands of woven yarn are hanging from the rug and need to be sheared. The rug is in need of a wash since it’s been on loom in the cottage industry for months. The design in the carpet is not clear at all. Shearing brings the wool down to an even pile and is done gradually section by section to reveal the beautiful design. This process is done again after the first washing and drying of the rug.
Washing
After the first shearing, the rug gets its first wash. During the initial wash any excess wool and debris is cleared away. The beauty of the rug will also start to come through during this stage. After the rug goes through its second shearing, it will be washed again, where it will really begin to look like the final product. Depending on how distressed the rug needs to be, washing can be repeated for more than two washes, going through the wash and dry process each time with additional shearings as necessary. Rugs are often used as fashion for the floor, and distressed looks are done to achieve a certain chic look.
Stretching
Stretching, also known as blocking, is a very important stage in the finishing process. This is necessary in order for the rug to lay flat and have even ends and sides. (Of course this is a 100% handmade product, so no rug will ever achieve 90 degree perfection all around.) Huge iron nails are pegged onto the ground; the rug is then pulled, as per intended size, tied as tightly and carefully as possible to the rings tied to the pegs, and is left to dry and stretch for a couple of days. Though the rug-stretchers do their best to ensure that the rug comes out in its intended size, you can now see how crucial it is for each process along the way to do its part.
Clipping, Fringes, and Tea-dyeing
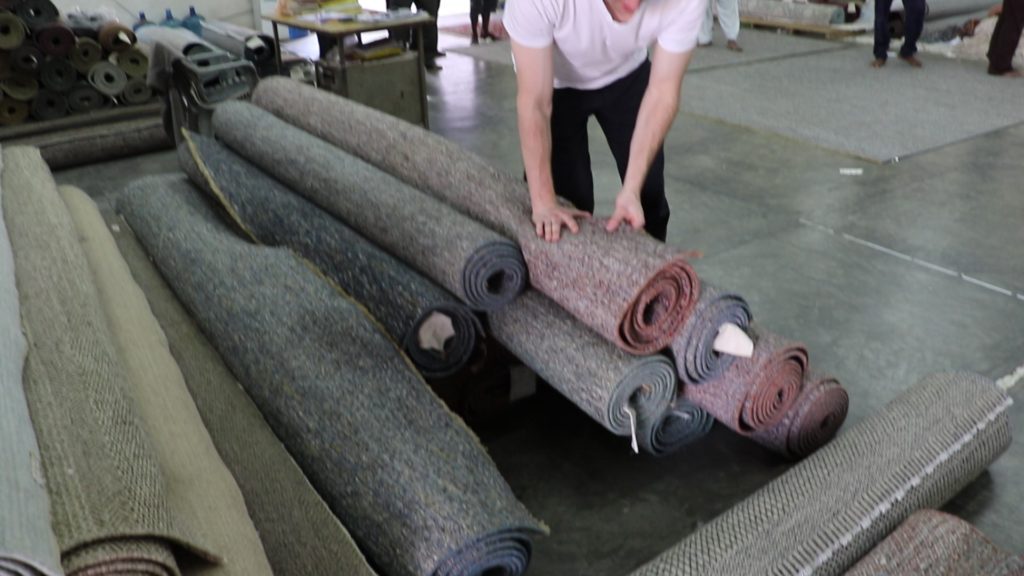
During the final stages of the finishing process the rug gets clipped meticulously by hand, its fringes are tied, and its fringes are tea-dyed. Clipping makes the finishing touches to the wool pile. The hanging fringes (which are the foundation of the rug) get tied and clipped to the proper length. Alternatively fringes can be bound to the back of the rug (some contemporary rugs are made without fringes on the ends). Finally, the fringes on the rug get tea-dyed (this isn’t always the case, but is fairly common). Tea dyeing is exactly as it sounds, the rug-makers use tea to give the white fringed ends a darker tone to achieve a nice aesthetic. Once all this is done, the rug is finally ready to be shipped off to a rug dealer!
Fringe or no fringe is a matter of preference. Traditionally, having fringes on Oriental rugs was a defining statement for the rug.
Well dear friends, this concludes the rug making process for us. I hope you have enjoyed learning about this amazing product. Understanding just how much work goes into each and every rug makes you appreciate the beauty of hand knotted rugs all the more.
Until the next one friends,
Joshua K